1/2/2018 Update – The VX-261 and VX-264 are now available as a Motorola Solutions branded product. All specifications and warranties remain the same.
New VX-261, VX-264 Offer Many Improvements to Analog Portfolio
 For users that only need low cost analog 2-way radio communications, Vertex Standard now offers the VX-260 series. The radios were designed with improvements to replace the VX-230 and VX-350 platforms that will end production at the end of June.
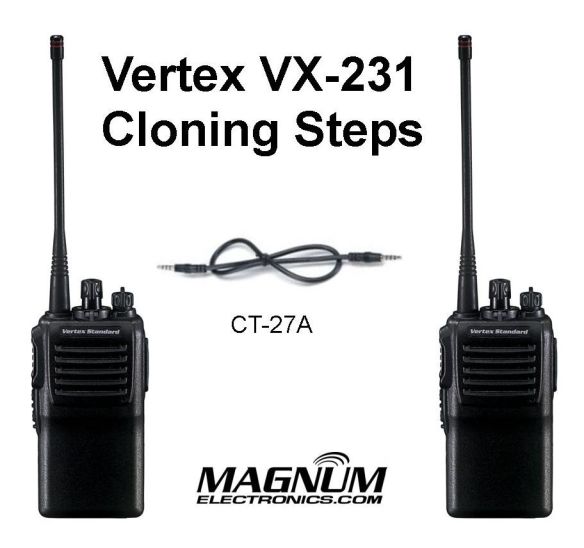
The radio is 40% louder, has more signalling options, and includes additional safety features. Universal batteries/chargers and the same microphone connector makes it easy to reuse audio accessories. Programming software and cloning cable are the same too.
You won’t be able to clone your frequencies from older non-identical radios or upgrade to digital. As with all Vertex Standard models there is a 3 year depot warranty.
Last Day to Order Vertex VX-231, VX-351, VX-354 is 6/26/15
The chart below identifies the Vertex Standard radio models that will end production. For those who need a VX-231, VX-351, or VX-354 to keep their fleet identical, it is recommended to place your orders prior to 6/26/15.


