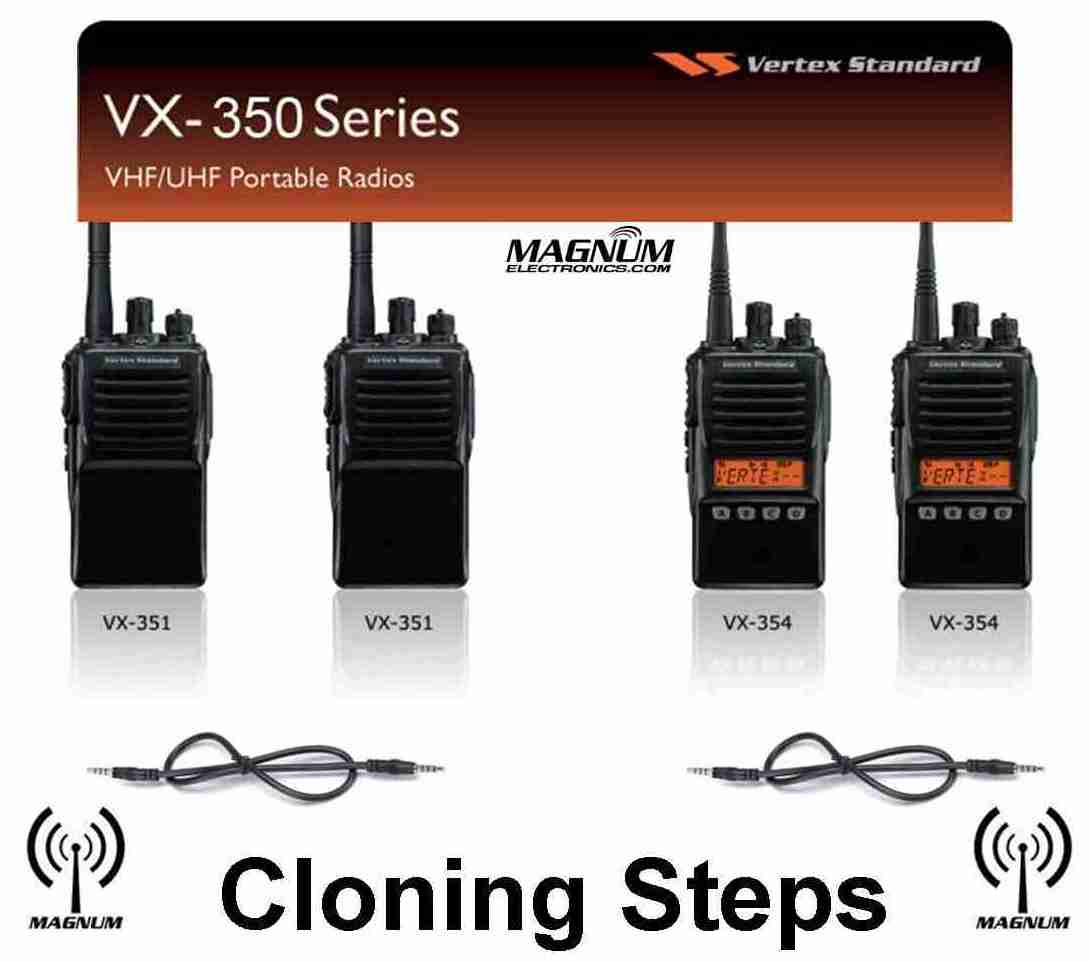
Vertex VX-351 or VX-354 Cloning Requires a CT-27A Radio-to-Radio Cable
Adding a new Vertex Standard VX-351 or VX-354 radios to your existing fleet is a simple process with the built-in cloning feature. All you need is a Vertex XURTS0008 CT-27A cloning cable to transfer the programming information. A VX-351 will not clone to a VX-354 and all models must be identical using the same VHF or UHF band.
VX-350 Series Cloning is a 6 Step Procedure
- Turn both radios OFF
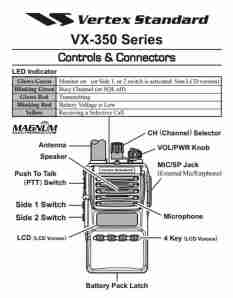
- Connect the CT-27 cloning cable between the MIC/SP jacks of the two radios.
- Press and hold the “Side 1” key and the “PTT” key while turning the radio ON. The LED will remain off and if a VX-354, it will display “CLONE”.
- Repeat step 3 on the other radio.
- To switch the radio to receive data, press the “Side 1” key. Then the LED indicator will glow “Green“.
- To switch the radio to transmit data, press the “PTT” key. Then the LED indicator will glow “Red“.

When the data transfer is successful, the VX-354 display will return to “CLONE” or if a VX-351, the TX/BUSY indicator will turn off. You are now ready for the next radio or turn both radios off and disconnect the CT-27 cable. You can then power on the radios and begin normal operation.

I try to clonin vx351 to a new 351 but the step no working on me plz help me
Both model numbers must be identical. If your radios are UHF make sure the long model number matches. Band splits must be the same too.
Thanks that is the reason the model not 😦 u help me alot
Any chance you can post the vx-920 series cloning procedure. Thanks.
Scott,
The best way to clone the VX-820/920 series is to use CPS. We will post the procedure in the near future.
Do you have to do this for every channel?
No…cloning sends all channel info and button assignments
I have two vx 354’s. Serial numbers are one apart so I know they are the same. I can’t get it to turn on with a clone msg in the display.
Check cloning cable, charge batteries, and radio firmware. Keep trying…
Brand new cable, full charge on both, brand new cable, clean connectors…. Nothing.